

You can store contact information from chat to your Infusionsoft account by creating a simple integration through Zapier. This will allow you to easily send a follow up after a chat with additional information or a sale proposal.
Configuration
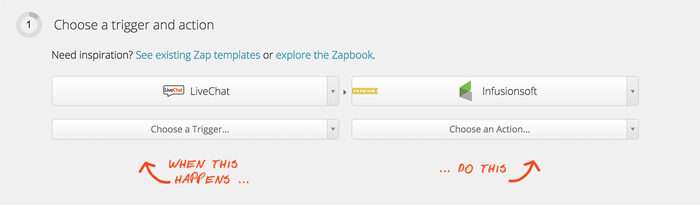
To get started, log in to Zapier and click on the Make a Zap! button.

Next, select LiveChat as the triggering application and Infusionsoft as the action application.
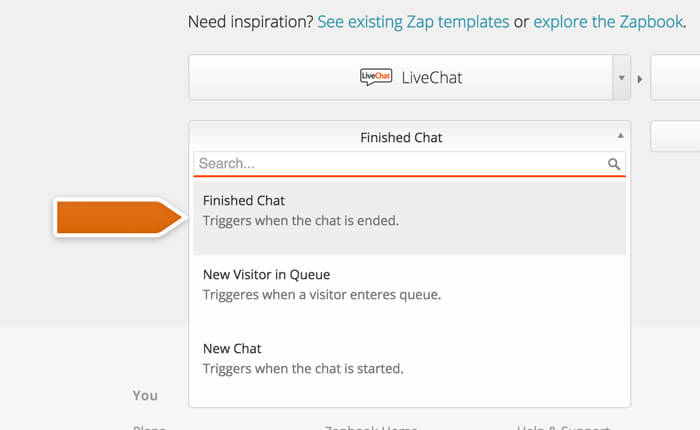
Click on the Choose a Trigger button and pick the Finished Chat option from the list.
In the same manner, click on the Choose an Action button and select the Create/Update Contact option.
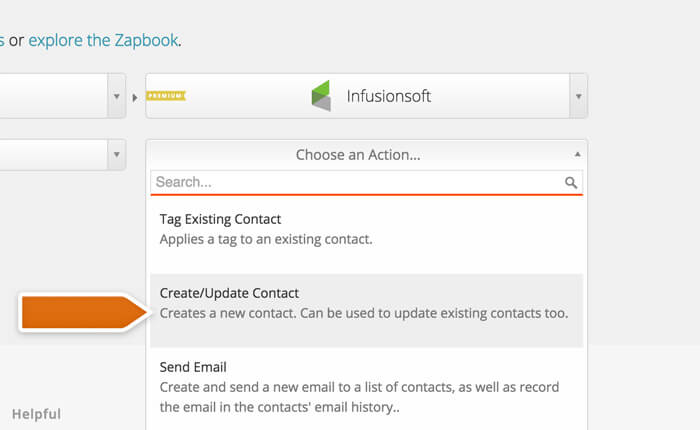
With this kind of setup, whenever a chat ends the contact information of the customer will be stored in Infusionsoft. Click on the Continue button to proceed.
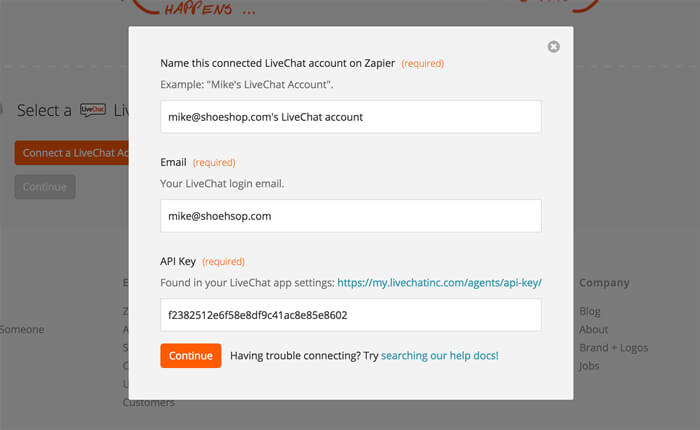
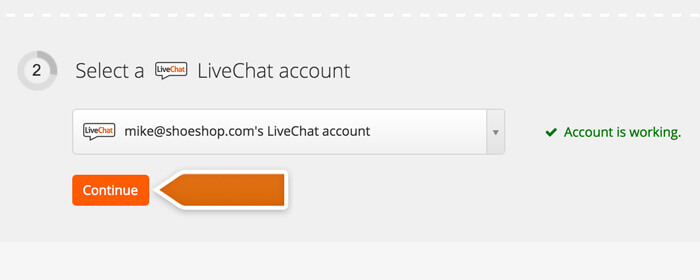
Next, you will need to provide your LiveChat account details. Enter the name for your account, your license number and your API key. Click on Continue to proceed.
Click on the Continue button again.
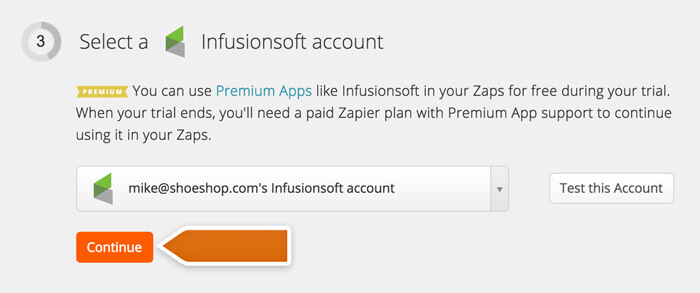
You will need to connect your Infusionsoft account to proceed. Click on the Connect an Infusionsoft Account button, name the account and log in with your Infusionsoft account. You will need to select which of your applications should be connected to Zapier.
Once that’s done, click on the Continue button.
You can then decide if you want to filter particular chats. For the purpose of this tutorial, we won’t filter any chats and simply proceed by clicking on the Continue button.
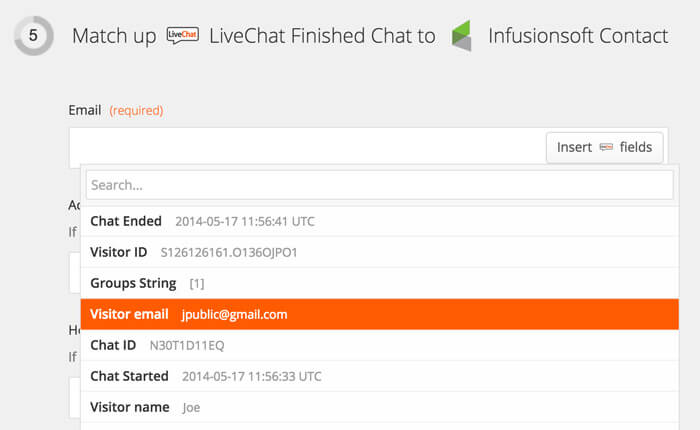
Next, you will need to choose which contact information will be passed from LiveChat to Infusionsoft. Click on the Insert LiveChat Fields button in the Email field and select Visitor email. Even though only the email address is required, you can pass other information like visitor name or chat transcript. When you are done, click on the Continue button.
All that’s left to do is to test the trigger. Click on the Test LiveChat trigger button. Follow the test instructions to finalize the setup. When the test is done, click on the Continue button.
Finalize the setup by naming the Zap and turning it on. Click on the Turn Zap On to wrap the integration up.
From now on, visitors’ contact information will be sent to your Infusionsoft account after each finished chat. You can filter these results to a specific set of chats/customers by using the aforementioned filtering options.