

Automate.io LiveChat: with Automate.io LiveChat integration you can not only automate your LiveChat workflow but also connect it with dozens of third-party apps out there! And all of that with just a few easy steps.
Automate.io LiveChat: Installation
- First, log into Automate.io Dashboard and click on Create a Bot button.

- Now, click on the Select Trigger app dropdown menu.
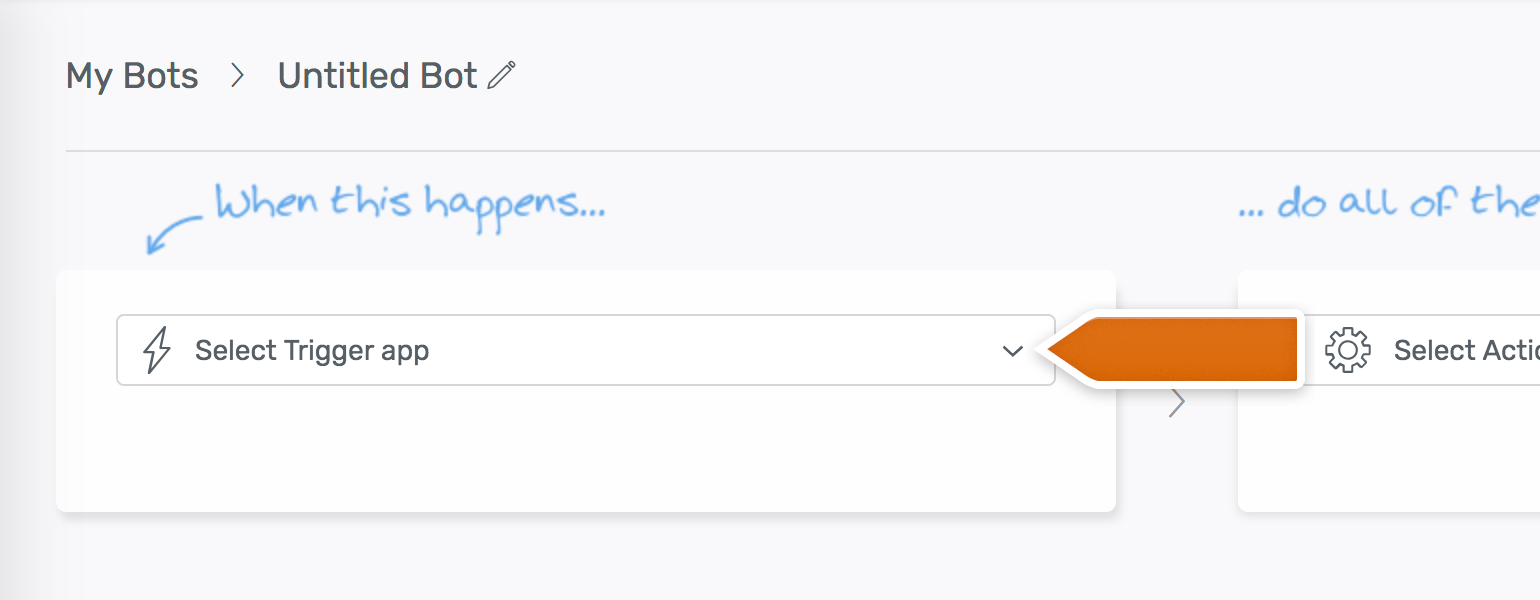
- Choose LiveChat from the list of available apps.

- You will see a new prompt, asking you to name your new app. After doing that, click on Authorize.

- It is time to authorize your LiveChat account. To do that, provide your LiveChat credentials and click on the Sign in button.

- On the next screen, click on Allow button to finalize the authorization process.

- And that’s it! Now you can decide which LiveChat action will trigger your bot. For the purpose of this tutorial, choose New Chat.

- As your LiveChat app and trigger are now ready, it is time to choose your Action app. For the purpose of this tutorial, we will choose Salesforce.

- Just like when choosing LiveChat as your trigger app, Automate.io will ask you to log into the chosen Action app. After that, select the action that will take place in Salesforce after a customer will start a new chat on your website.

- It is time to select how a new contact will be created in Salesforce. With a simple drag and drop interface, you can choose which LiveChat fields will be mapped with your customer in Salesforce.
- After mapping LiveChat fields with Salesforce, click on the Save.

- All that is left now is to turn on your new Bot.

And that’s it! LiveChat is now linked with Automate.io and you can start automating your everyday workflow, by integrating LiveChat app with dozens of third-party apps out there!
After successful configuration, start a new chat to see if your new bot works!
After successful configuration, start a new chat to see if your new bot works!
Hopefully, you have found this article helpful but if you have any additional questions, feel free to start a chat with us - we are available 24/7/365!